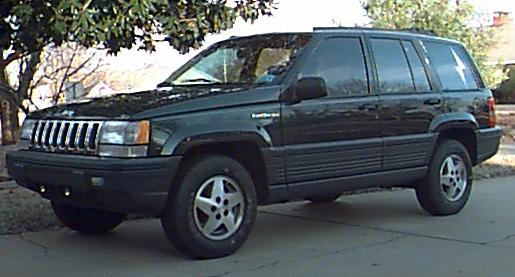
Ya know this is the cleanest it's been in over 3 months. I had to wash the mud off so the pic would look good. Well maby I shoulda left the mud on her but then you would have thought it was a brown jeep. : )
Well here it is, finally, (phew) the page dedicated to my latest foray into more power MORE POWER *huh* *ugh* POWER *mff* *ugh* (apologies to Tim Allen)
Meet the Jeep.
Ya know this is the cleanest it's been in over 3 months. I had
to wash the mud off so the pic would look good. Well maby I shoulda
left the mud on her but then you would have thought it was a brown jeep.
: )
So there I was, thinking to myself, "me, what should I do to make this thing go faster?" Well after checking around for mods I finally settled on the supercharger from HESCO. The following is my whack at a page devoted to this "educational process" I did up some instructions and also have them in word 7.0 format.
OBTW: This is best viewed with a wide screen, and Netscape.
Well, let's start with the kit. (note, clicking on an image will expand it) The kit came in one big honking box that I'm sure the UPS guy was o-so-delighted to haul up to the house :) Me, I had to break it open and move the stuff separately.
The kit contained many pieces. Without going into each one these are pics of them.

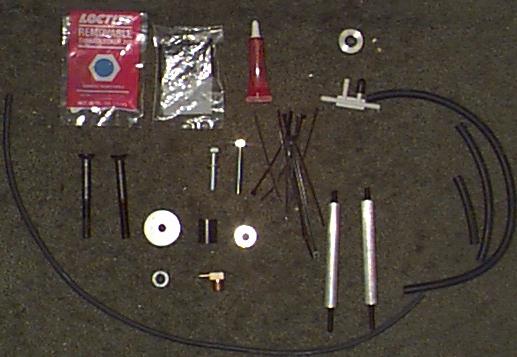
Contents of the Boost-A-Pump Kit. --> 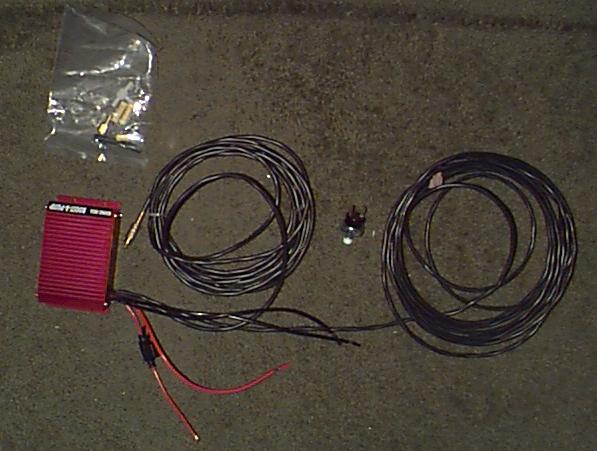
![]() <-- this is the throttle cable bracket.
<-- this is the throttle cable bracket.
and this little thing is the boost a pump sensor, just a close up --> ![]()
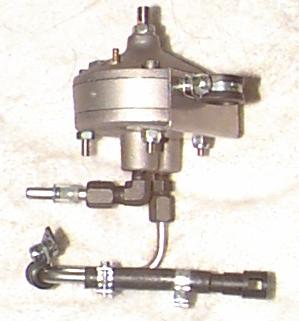
| This is the supercharger itself, with the bracket already mounted and the adapter plate still on. The little tag is attached to some silicone goo you have to remove before running the unit. | 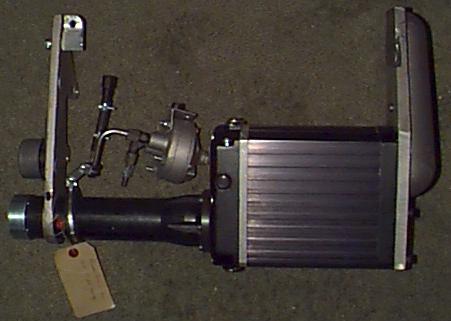 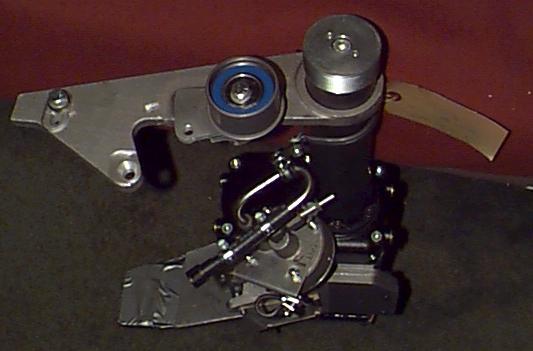 |
Well, now down to the nitty and grity. And boy-oh-boy did I get gritty. :)
Here is what the engine originally looked like. Take a long hard look as it will never look like this again.
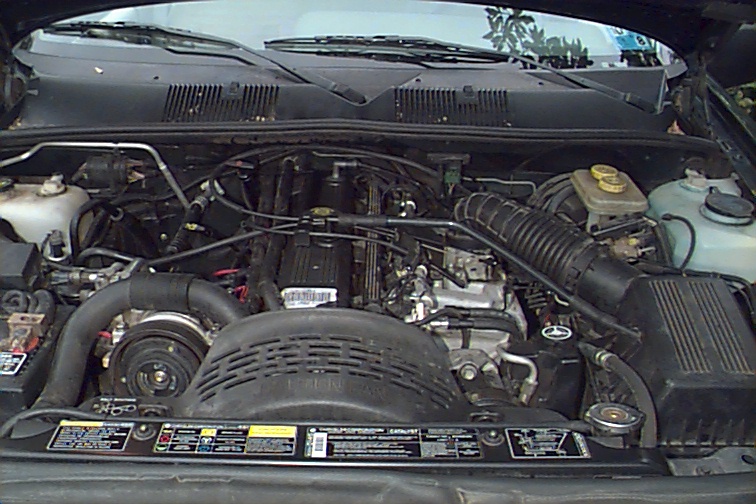
Well, don't look too long or too hard, radiation and all that, eh?
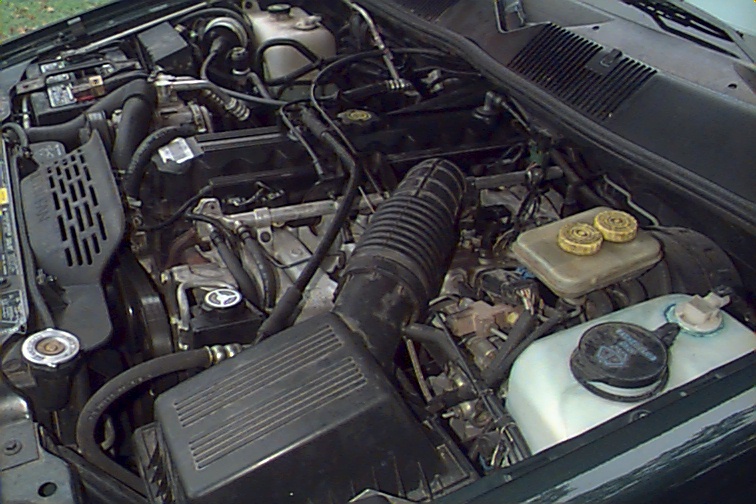
Soo, just in case I really screwed something up I took pictures of the major assemblies before I actually took anything off. Well where are the pics you say.. well.. well??? Ok Ok.. I'll fork over the web space just for you. Ok.

 The back part with stock connectors.
 |
|
 |
Well, that's about it for the pre stuff. So I guess I'll
start with the installation of the boost-a-pump. This got a bit weird
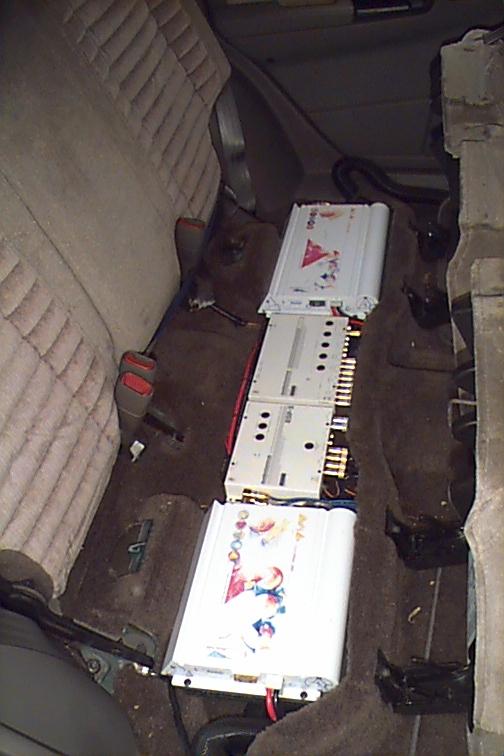
since I had some stuff tucked under my rear seat.. Well, if you call 300
Watts of IASCA competition stereo "stuff" hehe.
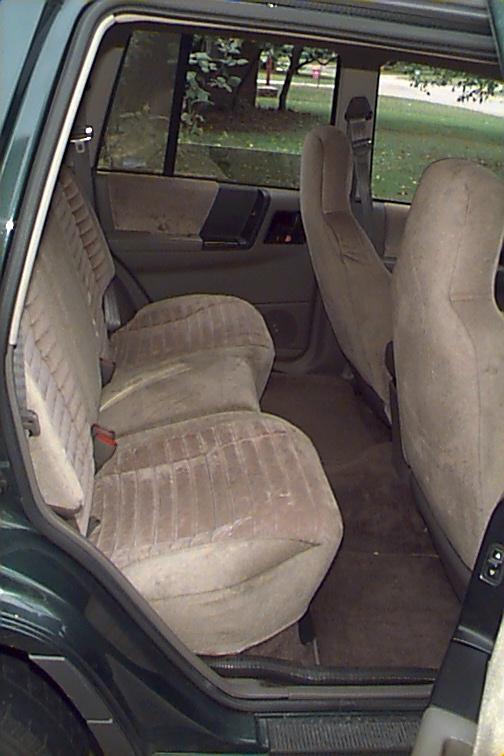 Seats
down. (invisible, ain't it) Seats
down. (invisible, ain't it) |
 Well,
here it is with the seats up. More you say? Well,
here it is with the seats up. More you say? |
 Well
here are the amps up. Under the one close to you is the stock jack and
under the other is the equalizer. Well
here are the amps up. Under the one close to you is the stock jack and
under the other is the equalizer. |
 |
<-- Oh fudge.. here's the CD changer and center channel speaker tucked into the center console and the head unit --> |  |
| Also installed a little fire extinguisher. It really is too small to be of use but just in case it's better than nothing. You'll note the flashlight holder too. It's made out of lexan and just clips under the console. (you can't buy it, I made it) |  |
Now back to the supercharger dementia :)
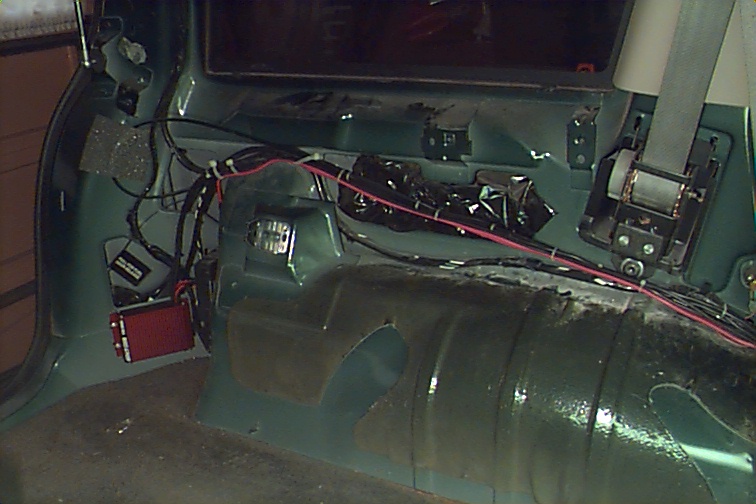
| I had to install the boostApump module in another location (DUH) so I chose to use the little space behind the spare tire beside the tail light idiot module.. But first I had to clean out the cargo area. Well? It's a Jeep ain't it?? sheesh. And yes, that's the sub. A Kicker Solobaric 10 and a rear center channel speaker. | 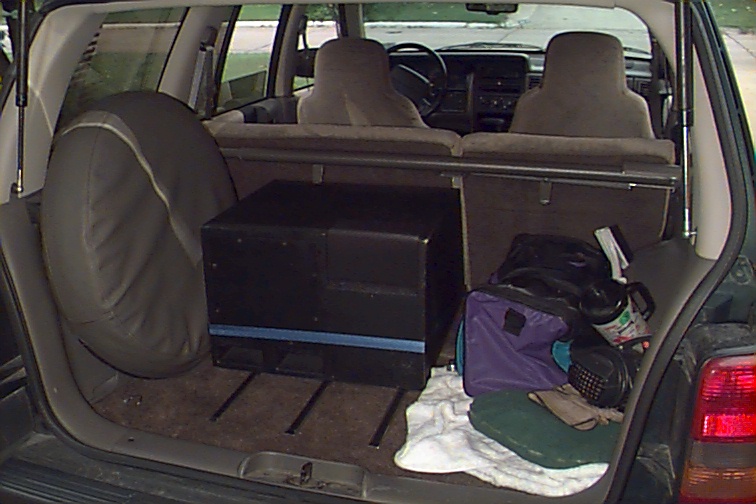 |
So I took the whole side off. Why you ask.. well cause I had to run 10 Gauge wire for the grounds and fuel line according to the instructions. 10 Gauge is some stout stuff. And yes, I believe in zip ties cause I don't want to be back in there and it is the fuel system we're talking about here. Below you see a load of pics..
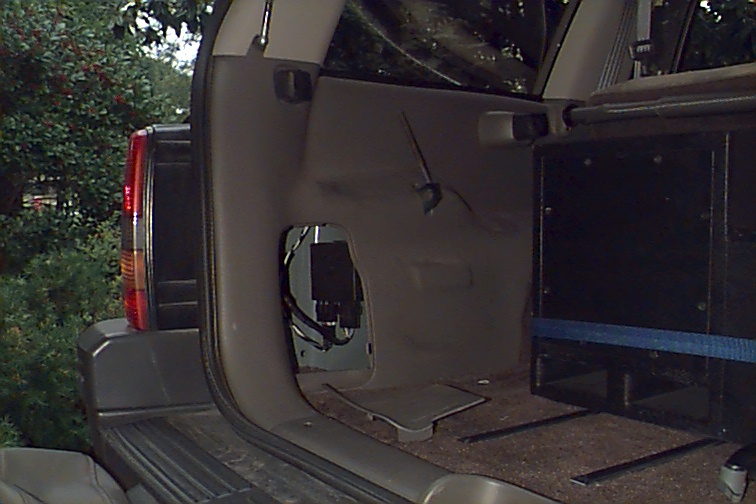

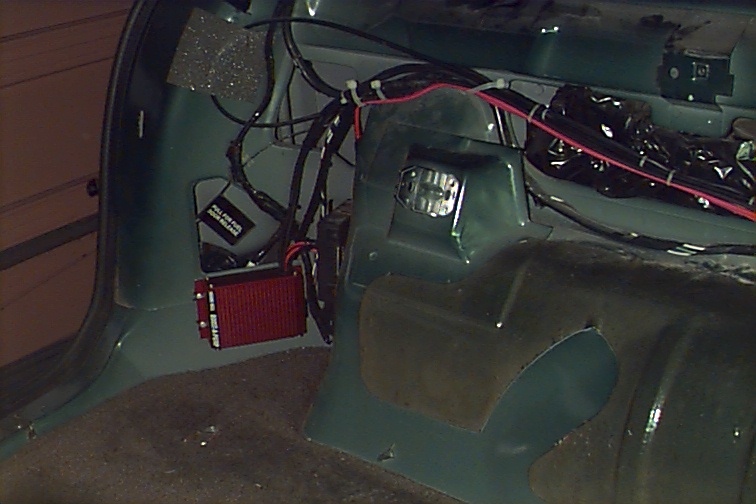

| This is were I chose to put the ground. I used the seat mounting bolt since it isn't likely to come loose and provided the best attachment to the frame (or unibody if you will) | 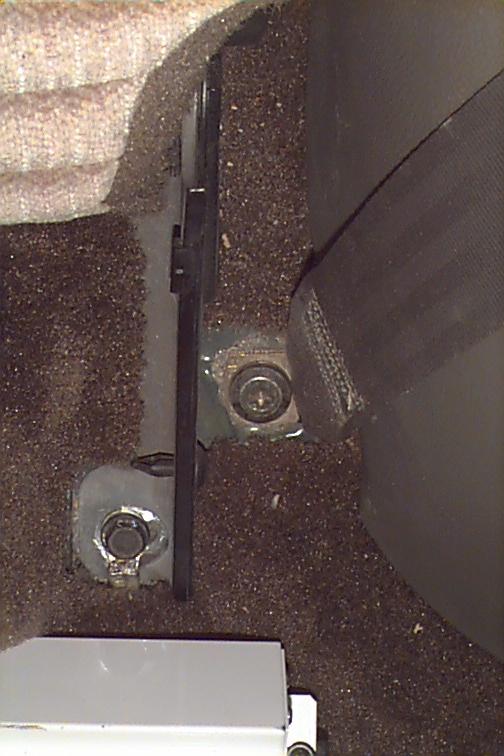 |
| Well, after all that here's what it looks like. You'll never see it and hopefully never will have to. | 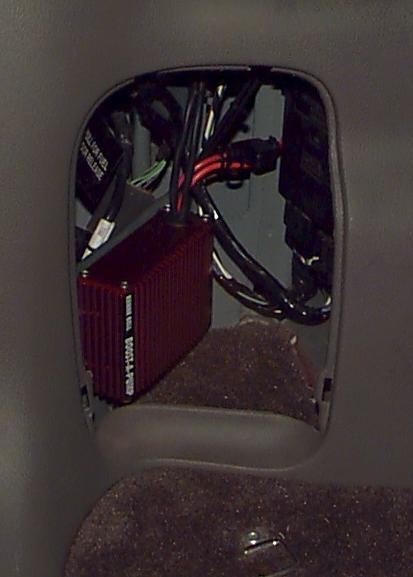 |
 |
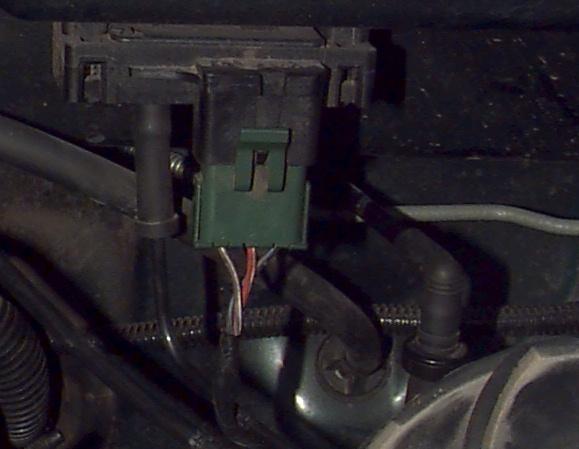
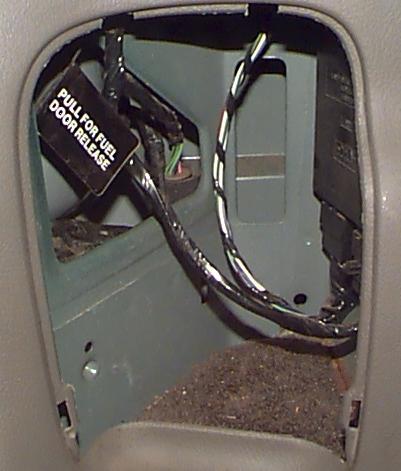
That being done I had to find a spot for the BoostAPump control head. I chose a spot under the dash within reach but out of the way of my knees and accidental tweaking. Once this thing is set you should not tweak it. It controls the fuel pressure under boost and you want exactly 70 PSI on the rail. I'm looking forward to VDO making an electric sending fuel pressure gauge. |
| You might ask where did I run the wires. Well I used the rubber bushing to the right of where the accelerator cable goes through. You'll also see alarm wiring going through here. You'll also see the shock sensor for the Clifford alarm (it's the thing attached to the steering shaft) | 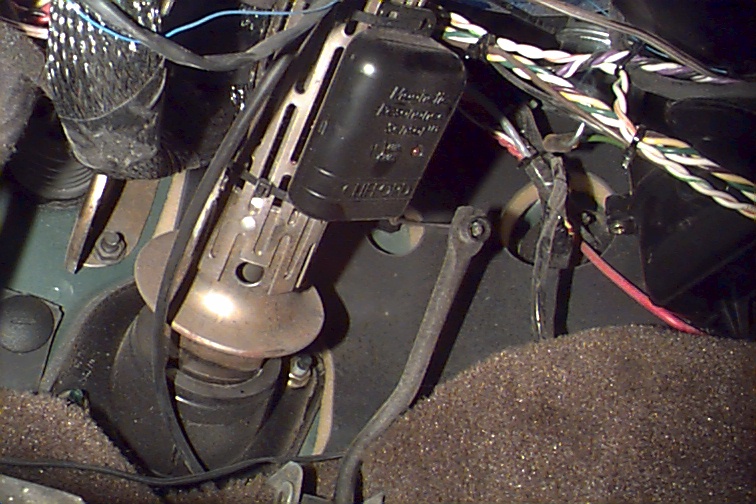 |
HEY, Are we there yet.
... heck no ... and stop asking or I'll format
your hard drive. <G>
Well, now comes the fun part. Well.. it was fun in retrospect
anyway.
| After taking off the throttle body and putting on the casting this is what you have. And yes, the sock is there for a reason. It keeps oopses from going down the intake rail. | 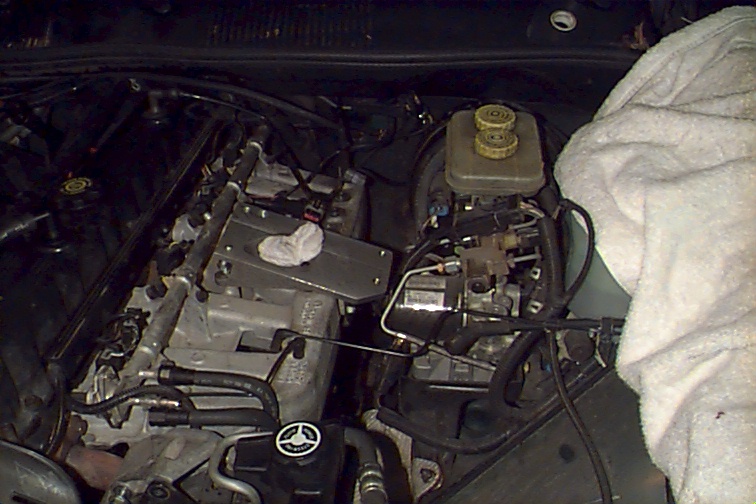 |
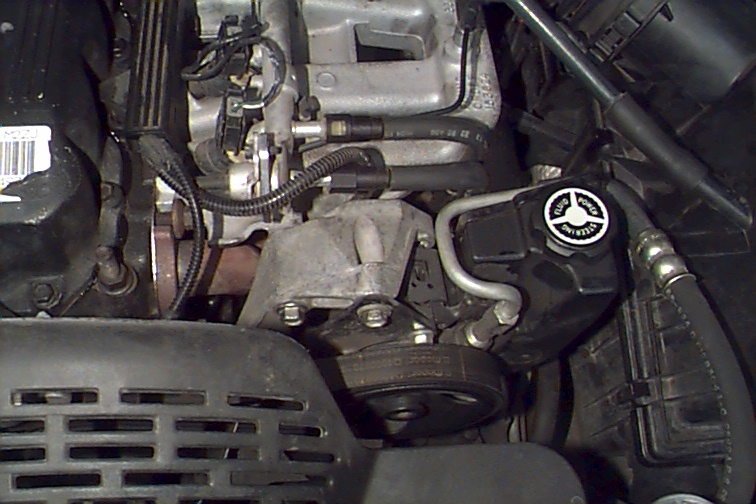 |
Next came the task of removing the power steering pump and replacing the bottle with the one provided in the kit. It wasn't hard but having the service manual is a good thing. You will have to cut the return hose but do so sparingly as you need some play in the pump. When you put it back on it will be full to the left. I mean dead against the left as far as the bolts will let it go. This is what the pump looks like stock.. |
Following the instructions I put the
supercharger in place (note, these are my throw and you should follow the
ones that come with the kit and use these as reference only)
 |
At first I had a problem with the belt (darn thing was too short). I found out later this was because they didn't give me a new idler to replace the one by the A/C compressor. I let them know and got it next day express. They made it right and that's what counts. |
 |
Having that fixed I now turned my attention to the problem with the pressure regulator. The way it was made it just didn't want to fit and was at a weird angle. |  |
 |
I solved this by cutting the tube back and re-flareing it. The final install wound up looking quite well. I also had to fabricate a small bracket to hold the regulator to the superchargers shaft. The clamp you see to the right just would not hold it steady enough for my liking and put too much pressure on the fuel return line. The small bracket is made out of some aluminum stock with a 90 degree twist and fits over the bolts that hold the regulator together. |
| You can see the final fit of the regulator and the original PCV hose zip tied to it. Well, I need to replace it with some flexible hose cause it just won't stay put and is starting to crack. It's that darn inflexible plastic plumbing. Even engine heat hasn't softened it any but that's no big problem. | 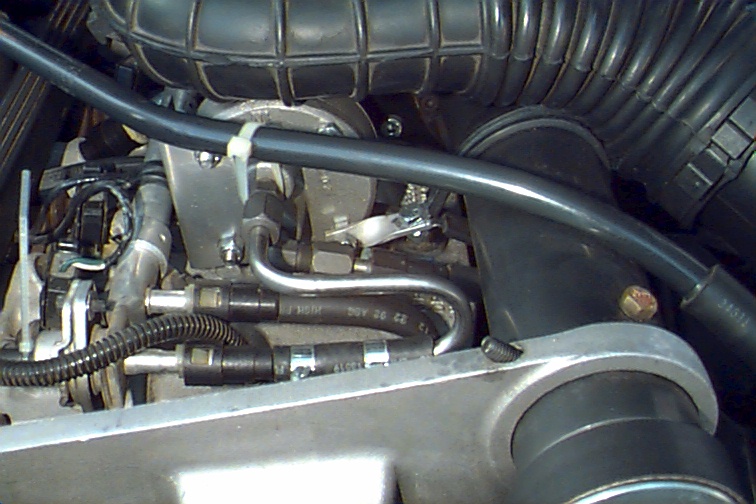 |
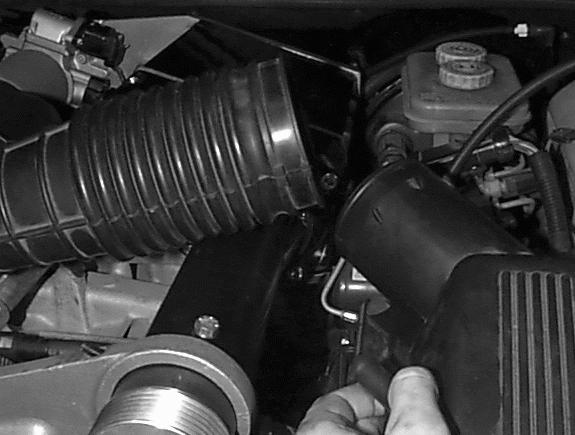 |
Next came the problem with the hose running to the air box. It just didn't look like it was going to fit but it did. I had to change the instructions a bit. They say to use a 1" spacer behind the back bolt but that made the air box hit the hood and the hood would not close. I cut 1/4 of an inch off it and used that 1/4 under the left bolt and VIOLA the thing fit like a champ. |
| Well, sorta. The pressure hose from the power steering pump still chafes the side of the air box. I think I'm going to use a heat gun to move the plastic a bit and if that does not work I will have a local shop fabricate a new pressure side hose for the ZJ. |  |
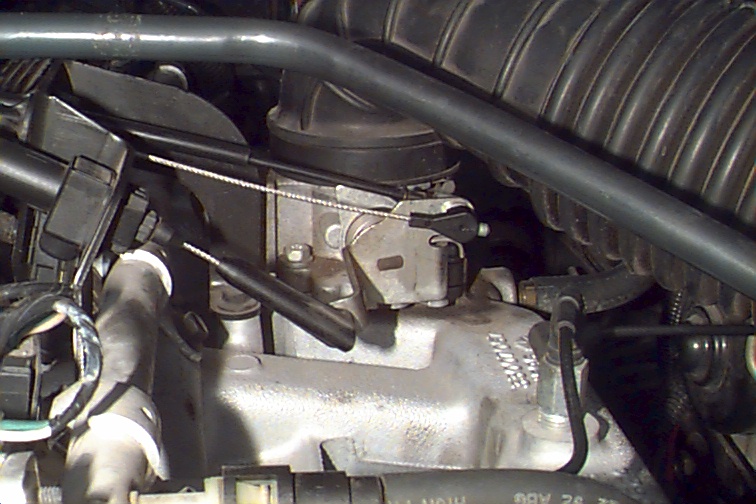
| Next came the attachment of the new throttle linkage and bracket. The instructions say remove the center bolt and the one in front of it. Well.. there are eight bolts so which one? Turns out it's bolts three and four if you count from the front of the engine back. The only problem is after the supercharger was it the distance between the new bracket and the throttle body was a little tight. It left the throttle cracked by a few tenths. To solve this I had to bend the aluminum struts a bit. I could have wallowed out the mounting holes but that would have allowed too much slippage and I could bend the supports just right. Your milage may vary. In retrospect I probably should have milled the holes but heck.. it worked. | 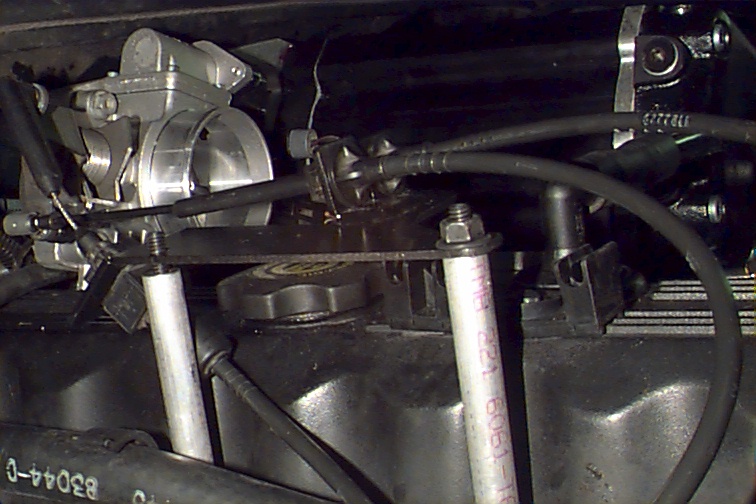 |
WOW.. and I'm almost out of pics.
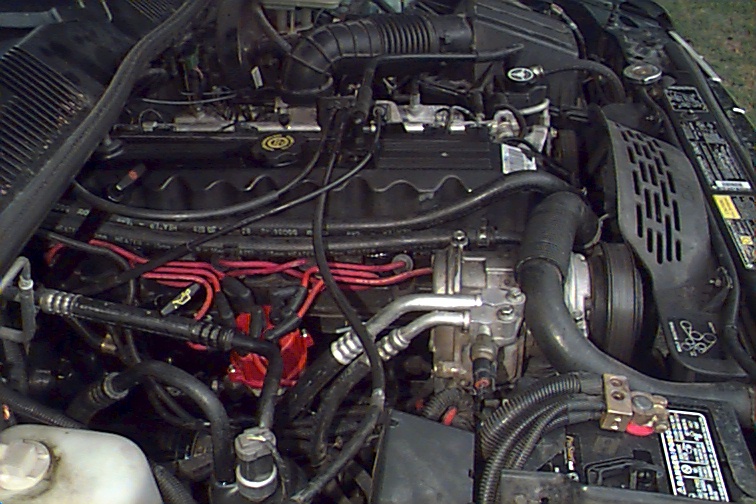
Well here is what you all have been reading toward. The actual installed and running supercharger.
WOO HOO

Darn.. all that work and this is _all_ I get.
That and the satisfaction of wiping the smug grins off the local low riders and V8 cherokee drivers.
The only thing that would be more awesome is if this was shoved in a TJ OHMAGOSH!!
Well.. That's it folks.. if you want more info on the stereo system
you can go back to my main page